Tutorials: Resizing Images with Easy Thumbnails Tutorial
A question I often get from other digital camera users is: How do I email pictures from my digital camera?
The answer is quite simple, send it as an attachment. Although there are other things to think about before sending a high quality digital photo via email. Unless you are sending pictures for high quality printing reasons, most people don't need to send or receive really big pictures. This page explains how to resize a digital picture to send via email or post on the web.
First get the Program Called Easy Thumbnails. (1.13mb about 4 minutes using 56k dial up.)
Direct Download from Fookes.com | Direct Download from DerekRowley.com
Once downloaded, install the program.
********************************************************************
On opening Easy Thumbnail, the program should look something like this:
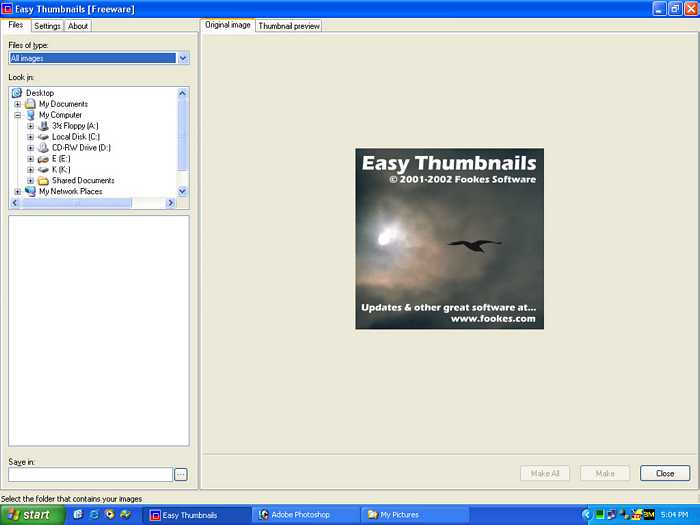
Easy Thumbnails is very easy to use, you just have to know a few things about file sizes and pixels.
"Look in:" Start here by finding the folder containing the picture or pictures you would like to have resized.
Directly below this box is where the file names will appear. Choose the picture or pictures here.
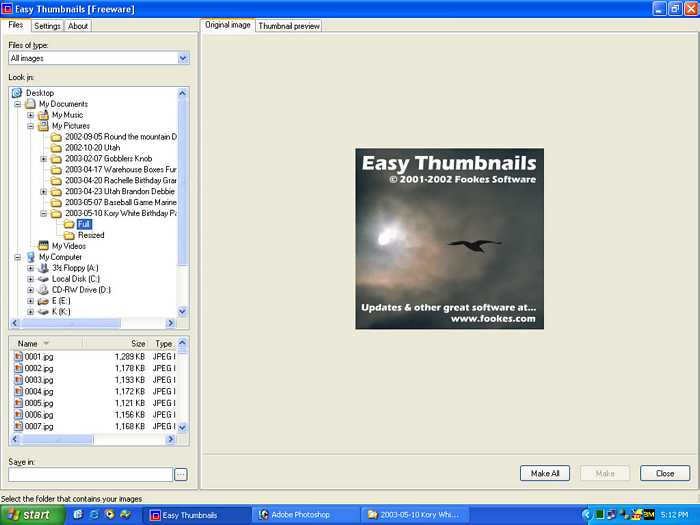
If you want to resize:
1 Picture: Click once on the image you would like to have resized, the original image will appear in the "Original Image" preview pane.
More than 1 but less than all the images in the folder: Use the Ctrl key (on the keyboard) and click only the pictures you want to have resized.
All images in the folder: Don't click on any images. Choose "Make all" (make all images in folder) AFTER adjusting the settings.
“Save in:” Leave this field empty. This will allow the images to stay in the same folder the originals are in. If you change this, it will default to that folder the next time you open the program, and you will probably forget that they are being sent to some other folder than what you really want. So just make sure it stays empty.
(exception... When using certain Sony camera's that use cd'r as the media, you must enter something in this field. I would recomend using My Documents, My Pictures then make a new folder, (rename it something pratical using the date and key words. Example... 2003-05-25 Mt. Rainier Summit Hike. This will allow you to search for it easier later.
Now click on the "Settings" tab located at the upper left corner of the program.
*********************************************************************
Settings
This is where you change the size of the images.
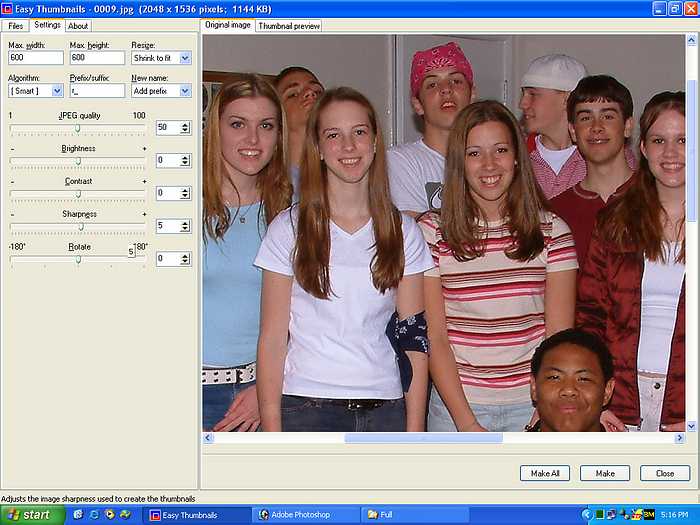
The text on the Title bar gives information on image 0009.jpg.
It says that it is 2048 pixels x 1536 pixels and is 1144 KB or about 1.1mb
A pixel is a dot of color. There are 2,048 columns and 1,536 rows of pixels, 3,145,728 pixels total. Or more commonly said 3.1mp (Mega Pixels).
A computer displays is usually set at 800 x 600 or 1024 x 768, Some people set their monitors to display even more (1200 x 1600)
Using a higher resolution (1024 x 768 or 1280 x 1024) makes surfing the internet and using programs easier by not having to scroll back and forth so much.
If the images your are sending your friend the full quality pictures from your new 3.3mp digital camera, the pictures will most likely be bigger than his or her screen.
To fix this problem, resize your pictures less than 1024 x 768. Since a lot of people have there screens at an even lower resolution (800 x 600) I would recommend resizing them know that the pictures will be big for them too.
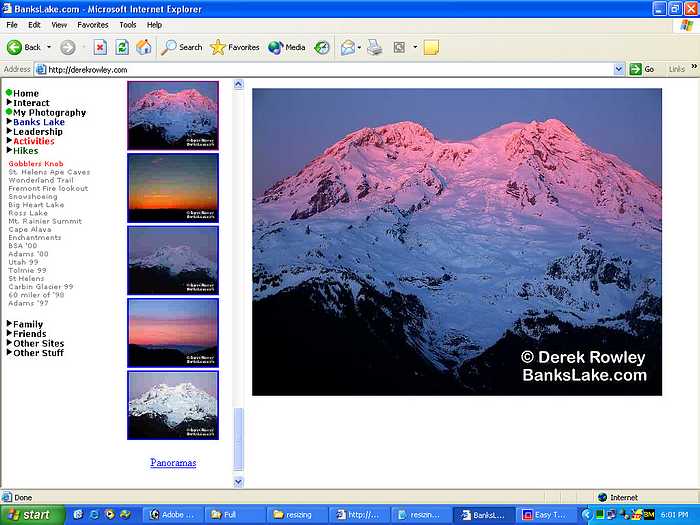
Personally I resize my images to about 1600 x 1600 (updated 2008), This allows the images to fit nicely on my webpage including the links on the left side of the screen.
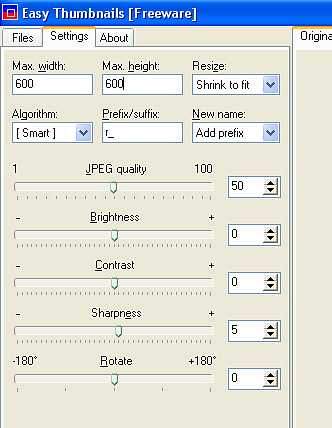
Insert the MAX pixel width and MAX pixel height into the corresponding fields.
"Resize:" Chose shrink to fit. This will make the image smaller but keep the aspect ratio.
"Algorithm:" Leave this at "[Smart]".
"Prefix/Suffix:" I always use r_ for medium (600 x 600) pictures and t_ for smaller thumbnails (200 x 200).
DO NOT LEAVE THIS FIELD BLANK! If you leave this blank you will overwrite your original high quality images with low quality images. NOT WISE!
The image quality setting will greatly affect the file size of your picture. I keep my set between 40 and 60, if it is much higher, the file size gets bigger and defeats the purpose of resizing in the first place.
The last four setting should be left at "0", Sharpness set to 5 or 10 will slightly improve the image quality but I don't suggest setting it above 10.
Now click "Thumbnail Preview", located at the top center of the program.
You will obviously see a thumbnail preview before you actually make the file. If the image isn't what you want, change the setting so the picture is to your likings.
Keep in mind the file size, which is displayed on the title bar at the very top of the screen. I would recommend keeping the file size under 80 KB or 80,000 Bytes.
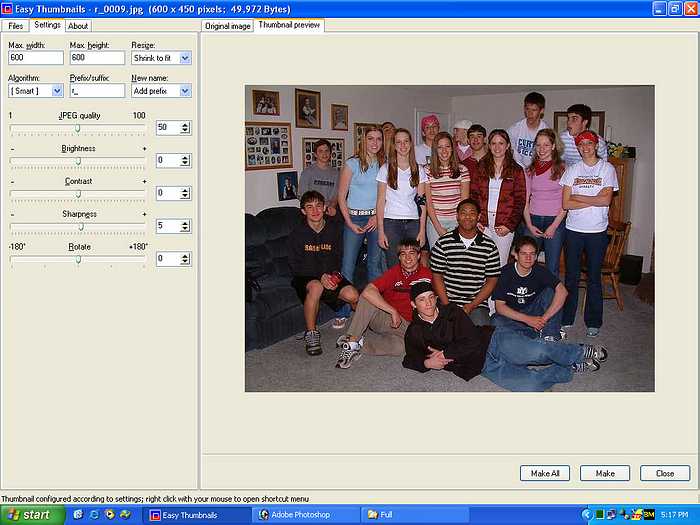
This screenshot shows the thumbnail preview, the file size and the pixel size.
File Size = 62 KB or 49,972 Bytes (perfect for e-mail and WebPages)
Pixel Size = 600 x 450 (perfect for anyone’s screen)
The resized image will now be called r_0009.jpg
Once the settings are correct click the "Make" button located at the bottom right corner of the program.
If you want all images made that are in the folder choose "Make All".
The time it takes for the program to make the thumbnails varies depending on the speed of your computer and the number of pictures you are resizing.
Usually not more than a minute.
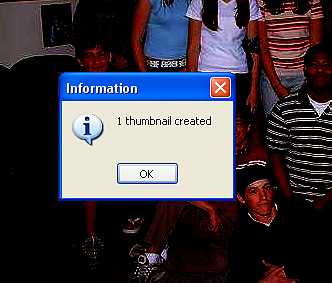
Once the program finishes resizing all the images you asked it to do, a small pop-up box will appear telling you that it finished making the thumbnails.
***********************************************************************
Now that you have the resized the images it is probably a good idea to move the pictures to a folder called "resized" to keep them separate from the original pictures.
Go to My Documents, then My Pictures, then to the folder they are located in. Create a folder called "Full" Or "Original", and a folder called "Resized".
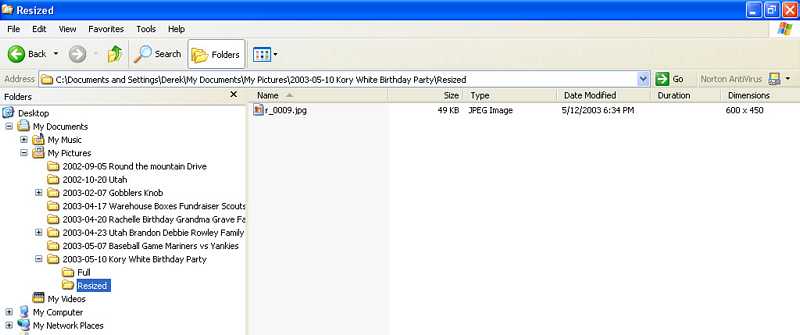
Select the original images only, choose "cut", located under the "edit" menu, then open the folder where you will be putting them, then choose "paste", under the "edit" menu.
Do the Same for the Resized images.
***********************************************************************
Congratulations! You have now resized your pictures and are ready to send them in an e-mail or prepare a webpage.
Derek Rowley's Easy tutorial for Easy Thumbnails.
Easy Thumbnails Tutorial, Using Easy Thumbnails to create thumbnails.
Back to Tutorials
DerekRowley.com